


These DIY wall lamps from IKEA are easy to make and super stylish
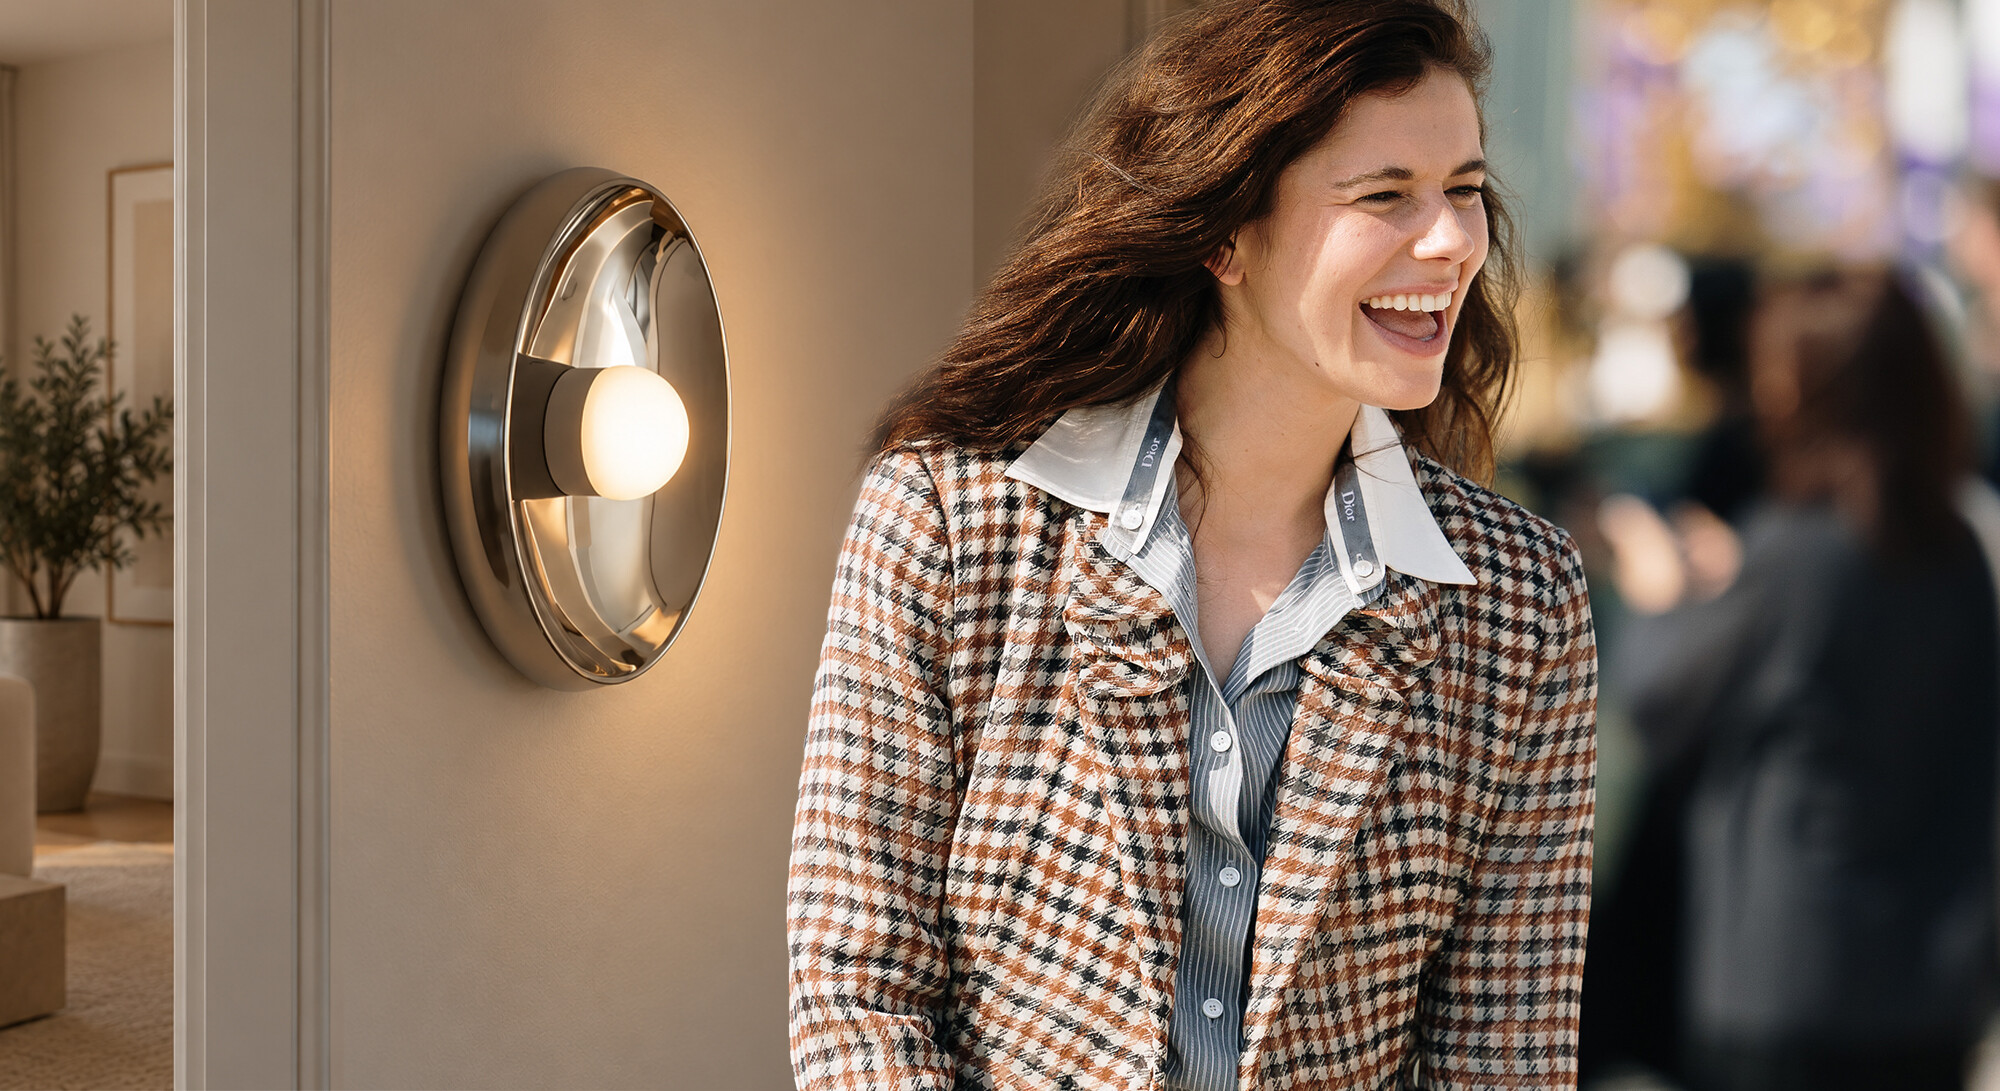
Making a wall lamp yourself? That can be very easy. And no: it won't look like you've cobbled something together with two left hands. There is actually a viral IKEA-hack that is super easy and looks like you bought an expensive designer lamp. You only need a few things and trust me: it costs much less than a real wall lamp. And making and hanging such a lamp gives you such a girlboss feeling that you'll want to do many more DIY projects afterwards.
What do you need?
- Two silver bowls from IKEA that serve as the base, like the viral Konstrunda or the Aftonhaj. (or nice plates, if you want to find something similar)
- Rechargeable light bulbs that you can turn on and off with a remote control like this the ones they use in the tutorial.
- Self-adhesive picture hook set like this
- Other supplies like plugs, screws and a drill
@chrome_created IKEA hack – DIY wall light #ikeahack #ikeadiy #diylamp #diyhomedecor
How to make these DIY wall lamps
Maybe the shopping list of building materials above sounds a bit weird when you think about making a lamp. But yes: it is true. You really only need some bowls, lamps, and hanging materials. We are simply going to stick the lamps onto the bowls. After that, it's up to you to hang them up.
Step 1: stick the lamps onto the bowl
Make sure to order the lamps we recommend above, as they are perfect for this hack. You can actually remove the elongated back of the light bulb. What remains is a round lamp with a flat back. Take a self-adhesive tile from the picture hook set and attach it to the bottom of the lamp. Peel off the sticker and then place the lamp in the center of the bowl. Press the lamp down firmly and suddenly you have made a wall lamp from loose parts. Do the same again so that you have two identical lamps.
Step 2: prepare the wall
Look where you want to hang the lamps on the wall. Measure this out and mark a point with a pencil where each lamp should go. If you want to do it like they do online, then hang the two bowls one below the other. With a measuring tape or level, you can check if the lamps are hanging straight under each other. Then make a thick dot or line so you know where to work.
Step 3: the plug for hanging the lamp goes into the wall
To know which screws and plugs to use, it's easiest to buy a set. Maybe you are a real DIY queen and know which screw and plug you need, but me? I'm as clueless as Cher in Clueless when she realized how naive her choices were. Such a set is perfect for someone like me: you know exactly which screws fit which plugs and which drill bit you need to use. That saves time looking for the right drill bit in your huge drill set.
Then it's just a matter of grabbing the right drill bit and putting it in your drill. With that, you make a hole where you marked a point. Then slide the plug into the hole. After that, screw in a screw.
Step 4: hanging up
And if all goes well, you should now be able to hang the bowl on the screw using the raised edge. If this doesn't work? Then you can also use the self-adhesive things, but this way the bowl is secured to the screw.
It may be a bit of a strange process, but you do end up with a design-worthy lamp. This donut-like lighting would probably cost you hundreds of euros if you wanted a similar design. So for a quarter of an hour of fiddling with a drill and a third of the price, I'm in.
Want a visual explanation? Then this TikTok is fantastic:
@lottechristiaansen POH !!!! Lights link: https:\/\/amzn.eu\/d\/0dLSeoCW Hooks link: https:\/\/amzn.eu\/d\/05SdXHBo
Image: Spotlight


